Test installation by attaching a Whisperer dynamically
In this walkthrough, you will:
- Connect to the UI
- Create a Whisperer
- Configure it
- Attach it to a running service from Spider
- Check that the data has been parsed correctly
Pre-requisite
- The local controller has been installed
Connect to the UI
- Connect to the endpoint from your Browser of choice.
- Spider is being tested in priority on Chrome, but works on other browsers.
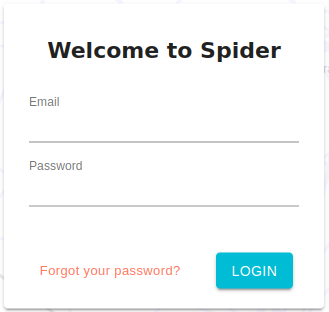
- You will be redirected to the login page.
- Login as your administrator account created at installation
- Depending on your login configuration, used you LDAP account, OIDC account, or reset your password (as it is the first time access).
- The analysis UI opens with the terms and condition to validate.
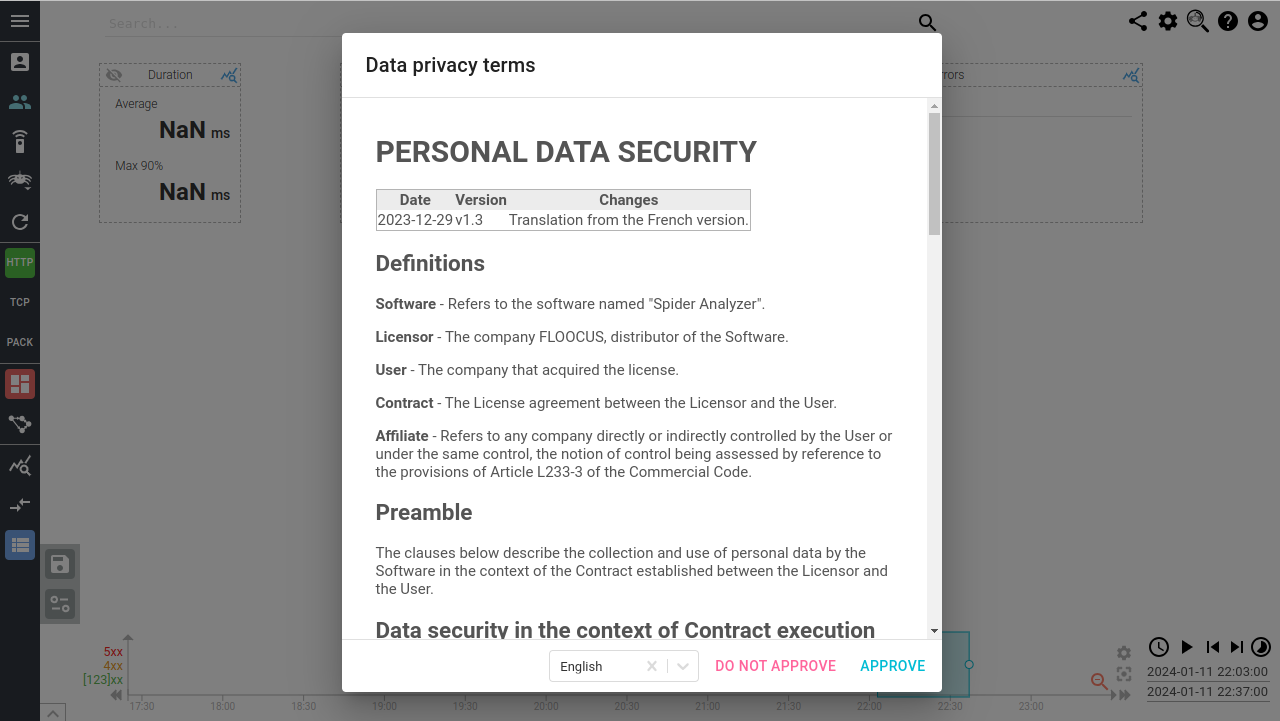
- Accepts the terms (or close the window and change tool 😆)
- The
Welcomescreen shows
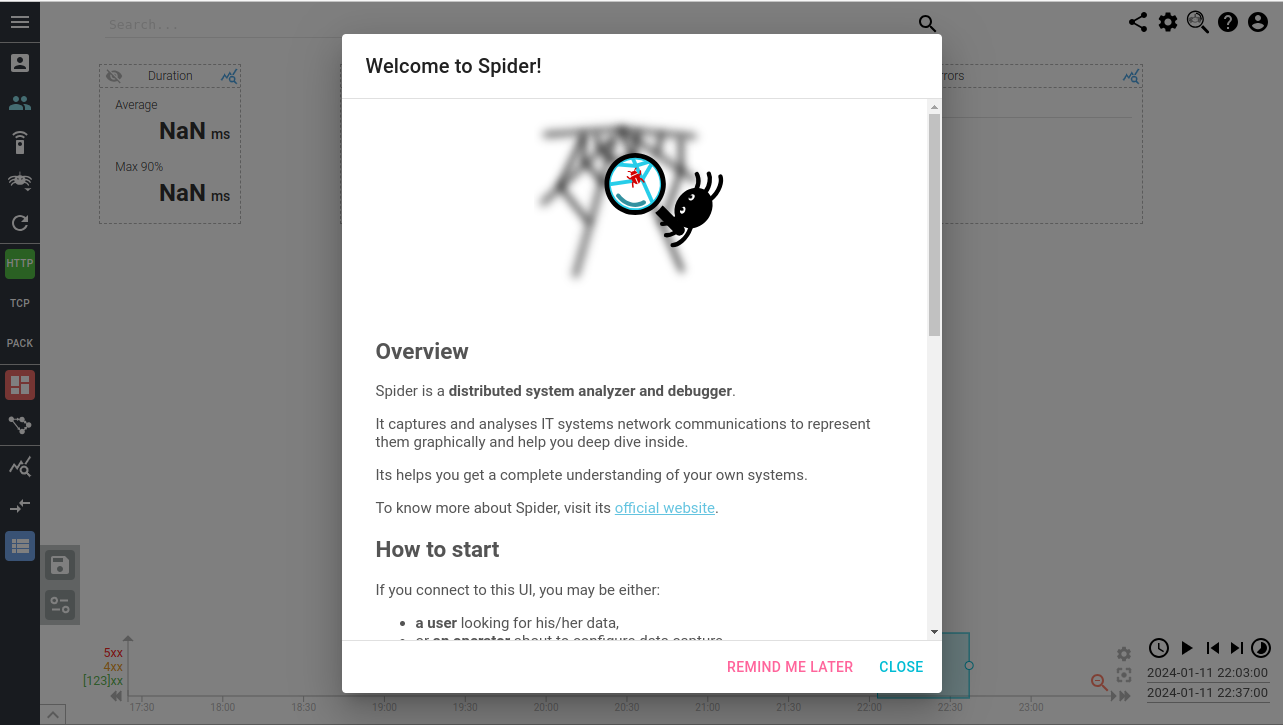
- Click
REMIND ME LATERto be able to review documentation links next time
You are now connected as administrator in the Analysis UI.
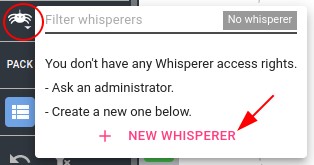
Create and configure a first Whisperer
You will now create a first Whisperer that will allow you to upload packets data to Spider.
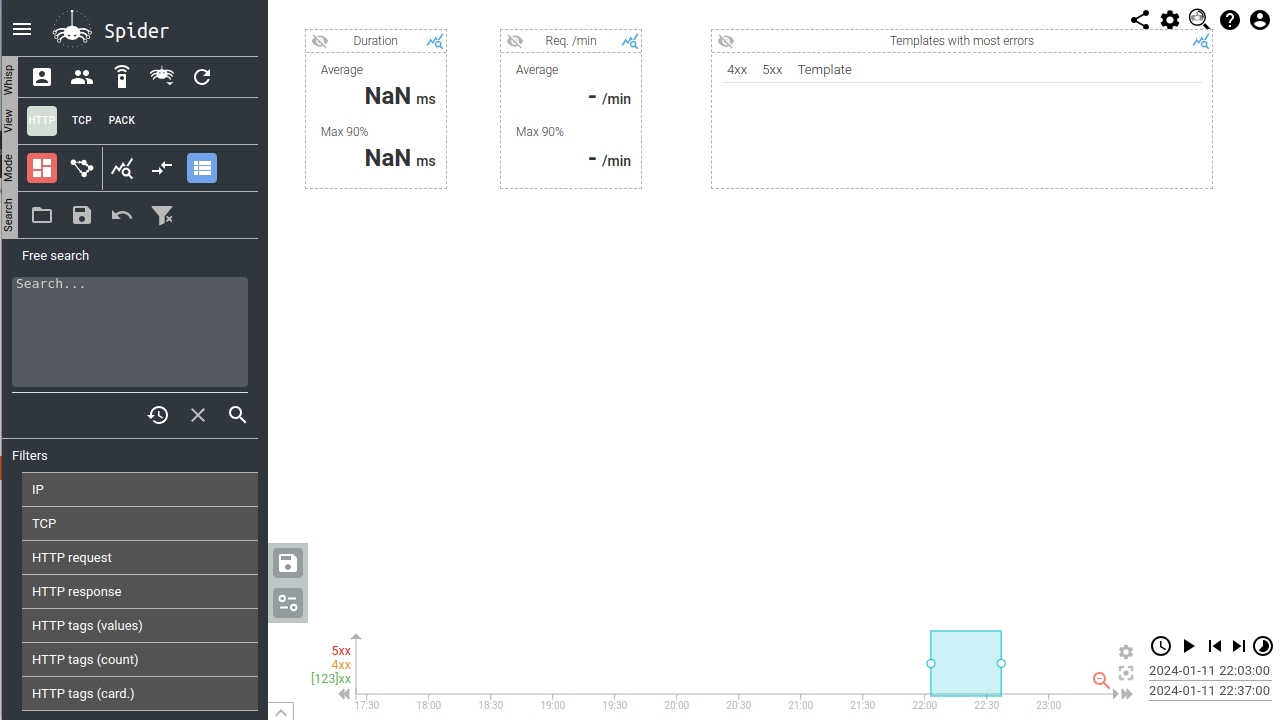
- Open the Whisperers menu
-
Click on the
+ NEW WHISPERERbutton to create a new Whisperer- The Create Whisperer form opens with default settings.
-
Edit the configuration to match the screenshot below
- Adjust the name to your liking 😉
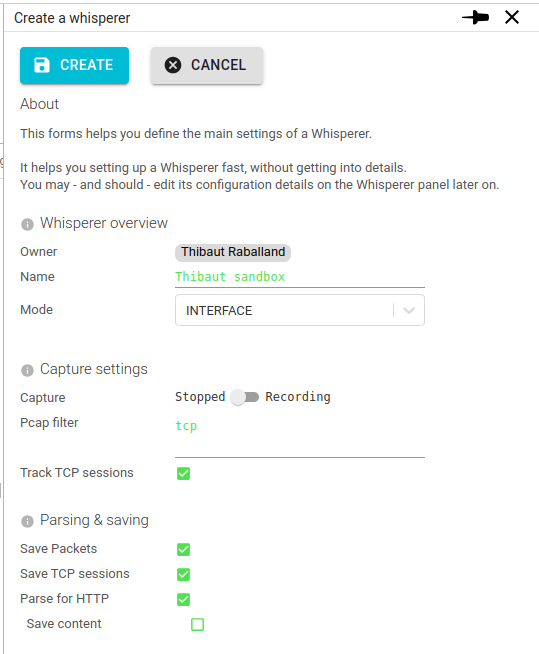
- Adjust the name to your liking 😉
-
Click
CREATE- The Whisperer details panel open.
This is quite enough to start testing!
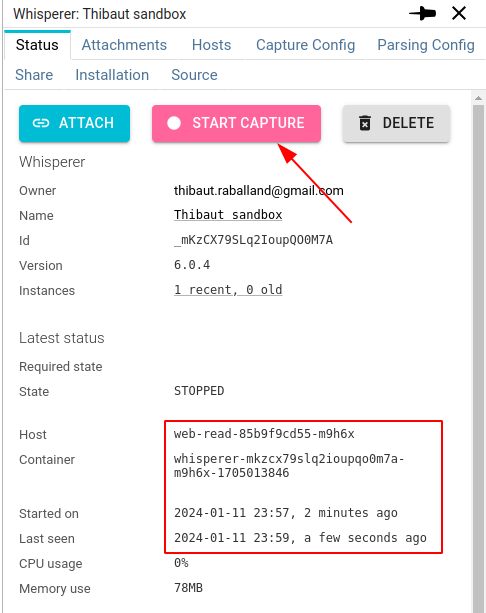
Attach this Whisperer to web-read service of Spider
- In the
Attachmentstab of the Whisperers details, clickATTACH

- Select
- Your
Local controller - Spider namespace
Deploymentskindweb-readname
- Your
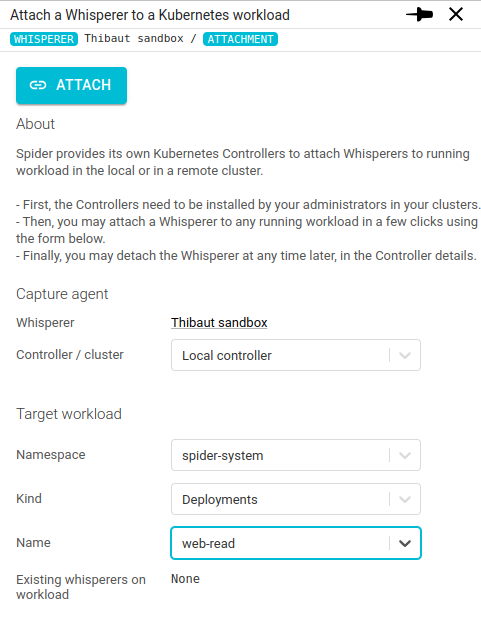
- Click
ATTACH- A pop in confirms
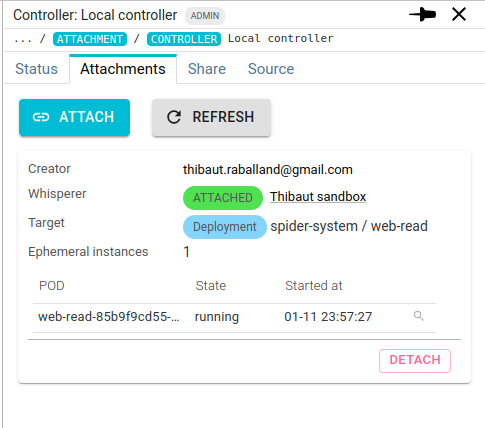
- A link at the bottom gives you access to the
Attachmentstab of the Local controller. - You can see that the Whisperer has been attached.
- In the
Statustab of the Whisperer- The status shows that it is connected
- Click
START CAPTURE
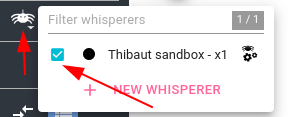
- Select the Whisperer in the Whisperers list if not yet done
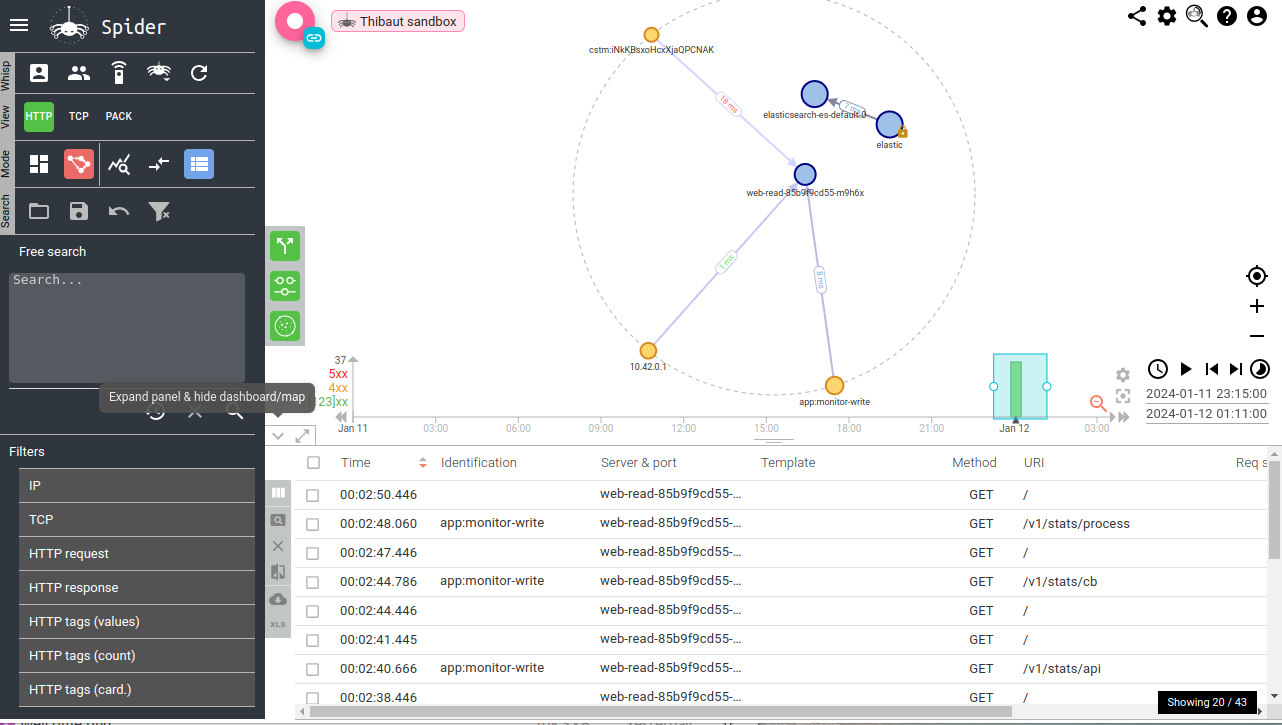
- You will see first data appearing in the timeline, map, dashboard and grid
- The Whisperer captures your request to the service to get communications captured 😍
- You may even compare these calls with your browser debug tools
- You should then detach the Attachment when you're over testing

Congratulations!
You've successfully captured your first live service and have a working Spider!