Testing installation with the demo mode
In this walkthrough, you will:
- Setup the demo mode
- Connect to the UI
- Select the demo Whisperer
- See your own activity being captured live
Setup the demo mode
In your configuration values.yaml file, set the option:
global:
  isDemo: true
Upgrade your installation:
$ helm upgrade spider floocus/spider-analyzer \
  -f ./values.yaml \
  --namespace spider-system
Spider will create a set of team, users and whisperers that allows to play around.
One whisperer is configured to capture some microservices of Spider itself... so you will see streaming captured data flowing in!
Connect to the UI
- Connect to the endpoint from your Browser of choice.
- Spider is being tested in priority on Chrome, but works on other browsers.
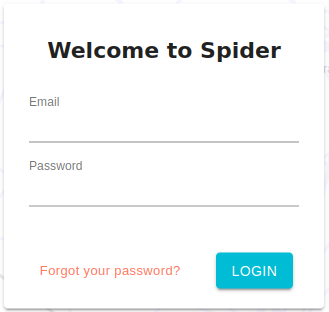
- You will be redirected to the login page.
- Login as your administrator account created at installation
- The analysis UI opens with the terms and condition to validate.
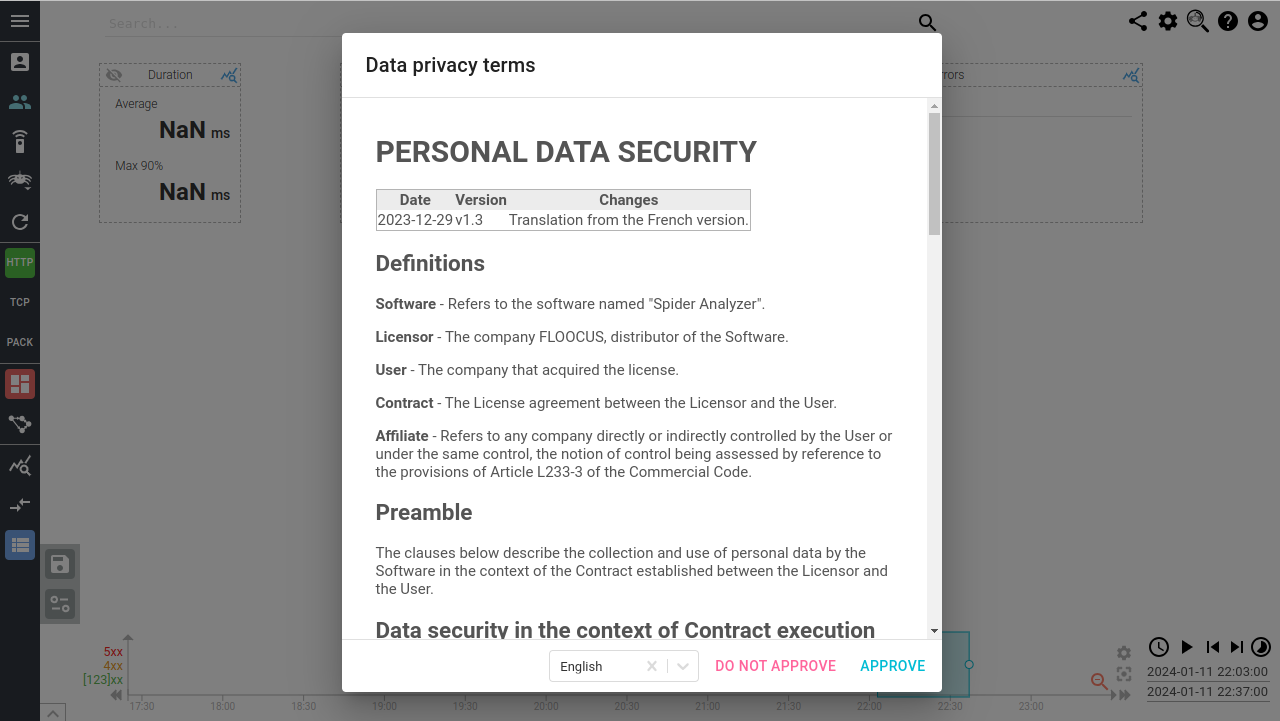
- Accepts the terms (or close the window and change tool 😆)
- The
Welcomescreen shows
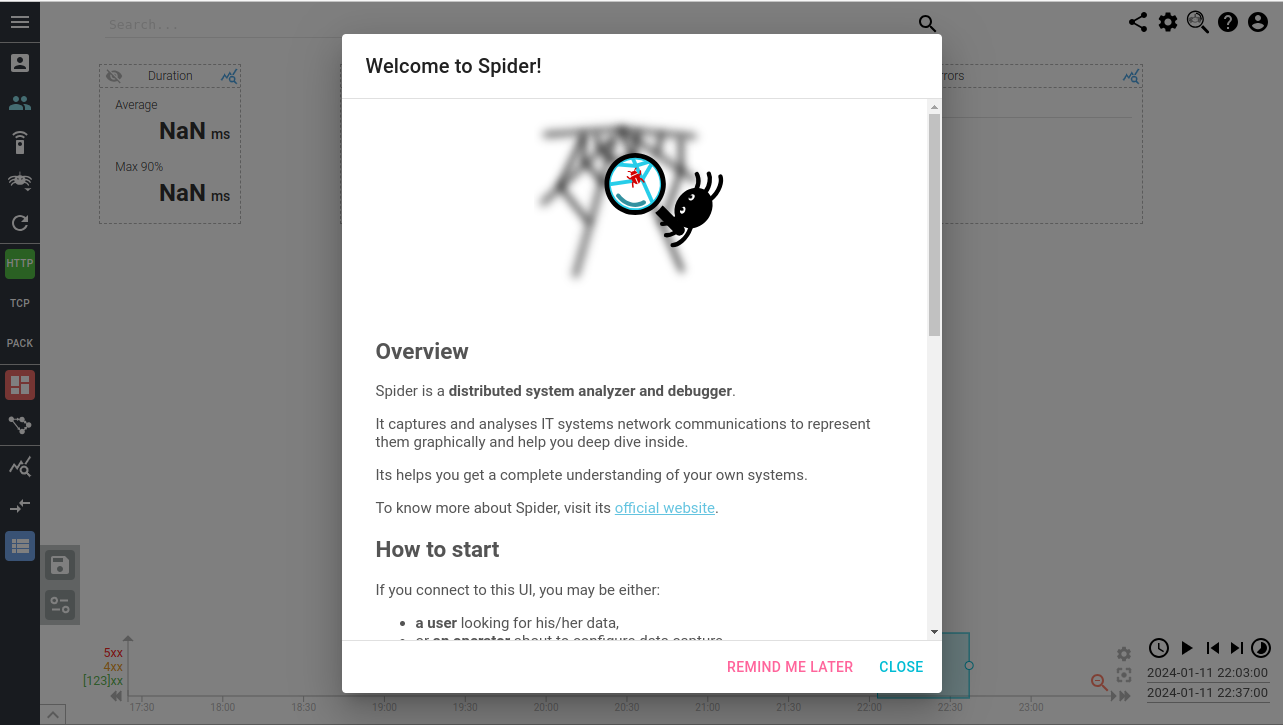
- Click
REMIND ME LATERto be able to review documentation links next time
You are now connected as administrator in the Analysis UI.
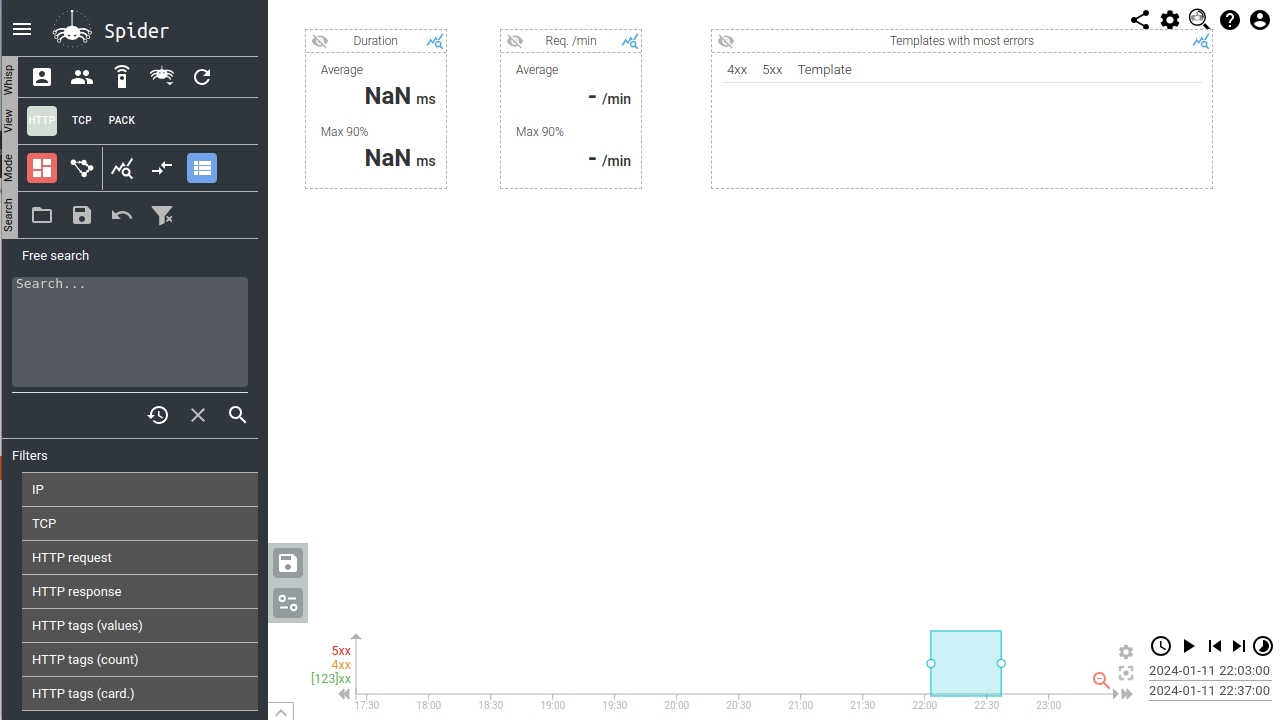
Select the demo Whisperer
In the Whisperer list, select Own Capture whisperer.
Check data
In the HTTP view, you may see the capture of API requests made by Spider UI to Spider webservices.